Welcome 
to the bright Syde
World-class web solutions for forward-thinking enterprises. Europe’s biggest WordPress agency.


From Inpsyde to Syde: inside the rebrand
What are your challenges?

Syde is a true leader in the WordPress ecosystem. Their dedication to quality of code and upholding the highest standards for WordPress development are evident in the solutions that they provide for their clients.
Ross Spadaro, Agency Partner Manager, Woo

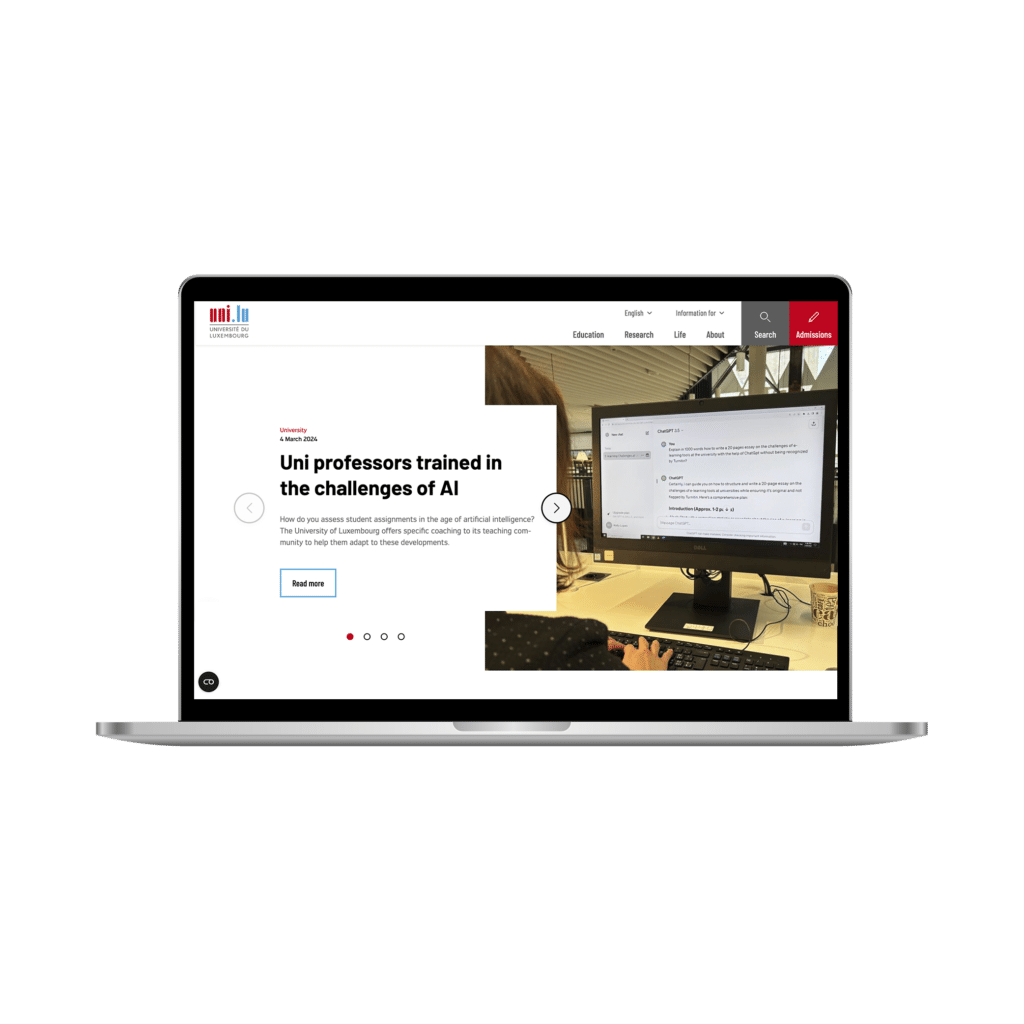
Syde transformed our website, making complex tasks simple and fostering genuine collaboration. The forward-thinking and approachable team ensured a seamless process, truly valuing our partnership.
Martina Christen, Comm. Officer, University of Luxembourg

It’s an honor to work alongside an agency that is so thoughtful and skilled. Getting to see this team in action in person and behind the scenes really gives you insight into the care and creativity they bring to each project.
Jodie Fiorenza, Partner Manager, WordPress VIP

We at Eurotext have found a reliable and creative partner in Syde for more than 10 years now. Personally, I highly appreciate the friendly and uncomplicated cooperation at an exceptionally high technical level.
Boris Zielonka, Director Business Development, Eurotext

I have been working with Syde for 4 years, and the partnership between our companies goes back 7 years. In that time I have found them to be an extremely professional and skilled agency, with a deep understanding of all things WordPress and WooCommerce. Beyond the headlines, the best thing about working with Syde is the people!
Ian Ferguson, Senior Partner Manager, WP Engine
Working with Syde on this project was an outstanding experience. Their expertise, communication, and commitment to quality truly sets them apart.
Rajesh Joshi, Technical Account Manager, WordPress VIP
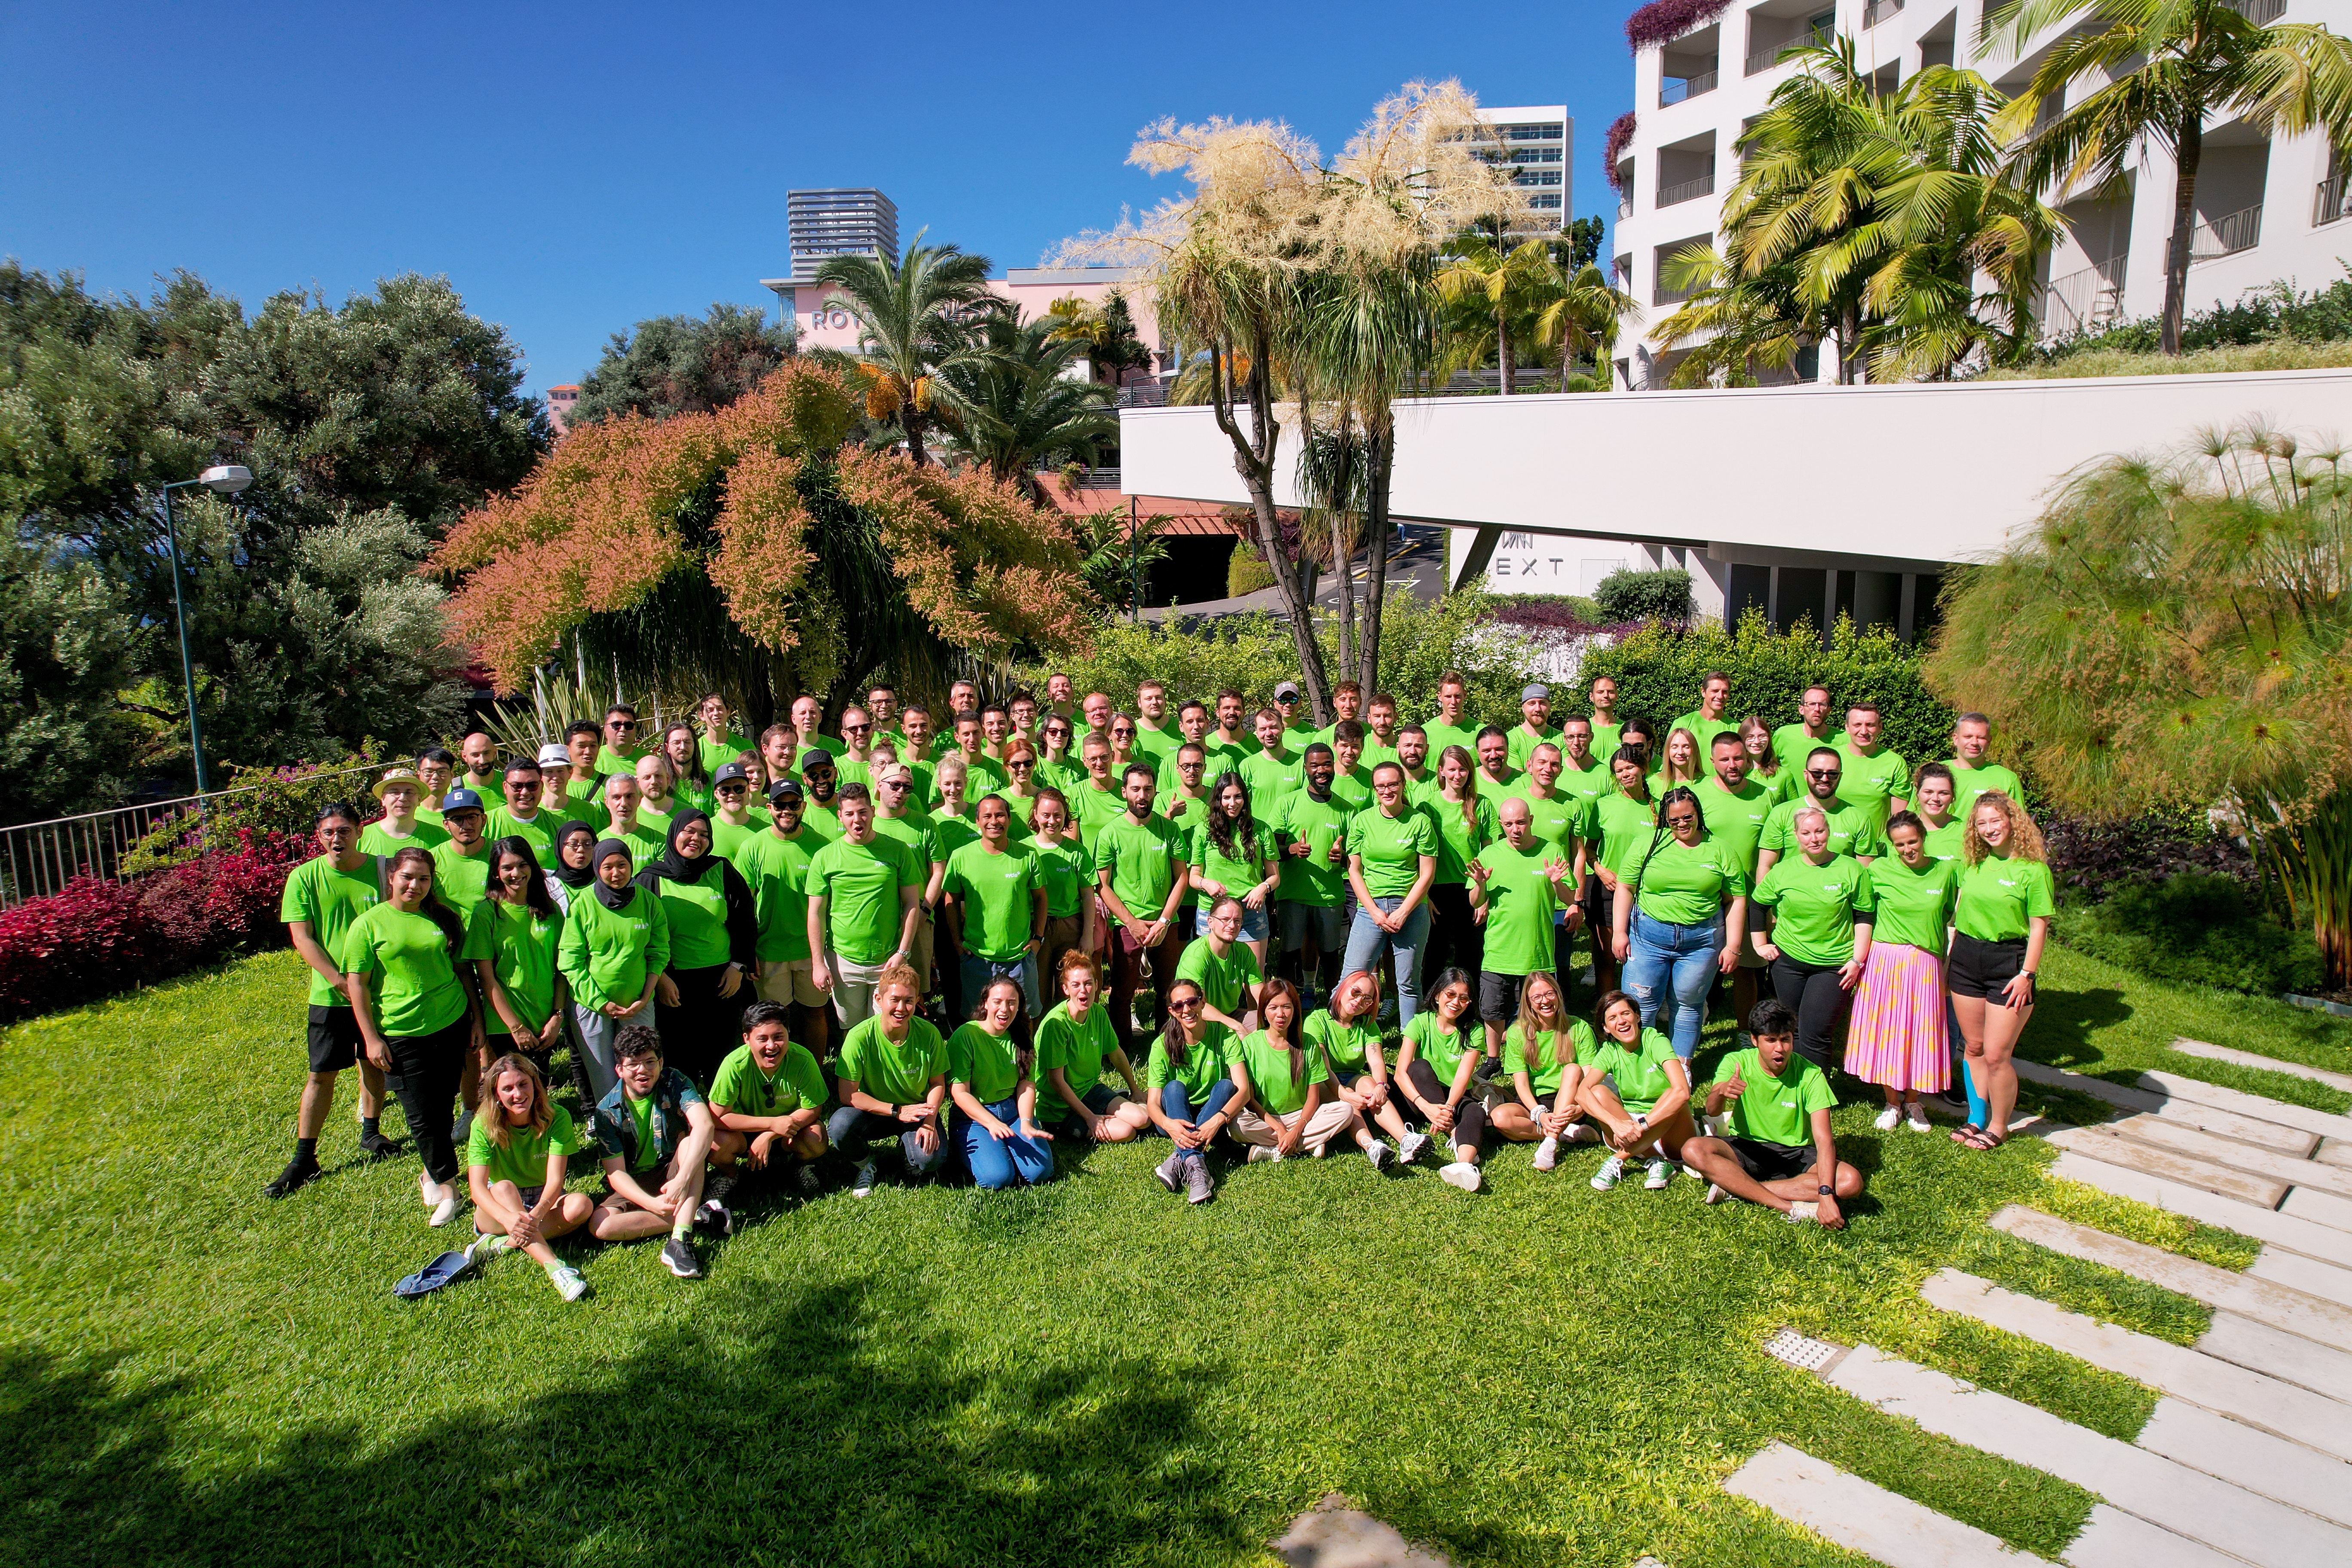
35+
Countries
130+
Colleagues
18+
Experience
15+
Languages spoken
100%
Remote
Our values

Open Heart
At Syde, it’s all about putting people first – it’s at our core. Making individuals a priority fuels our ambitions and maximizes the impact we create.

Open Mind
We take pride in what we do, ensuring it never hinders our progress. Quite the opposite – our pride stems from the ability to consistently share ideas, provide solutions and offer a helping hand.

Open Source
Our community sees us as the go-to folks for problem-solving, no matter how big or small. Being the best, we love sharing our code – it’s how we all grow, making the web a better place.
We build plugins
Let us craft your standout WordPress journey!
We are proud of our clients